


Google Tag Manager – Back to Basics Guide
We use various tools to collect data from consumers. We often use tools like google analytics to understand what the users do on the website ,which pages they are visiting etc. However, collecting data looks simple but it is not that easy. Tools Like Google Analytics simplify the data collection process but they work more accurately and effectively when we add tags.
What is Tag?
Tags are basically the snippets of java code which track different aspects of user information.
Different tags collect different information For example one particular tag tracks how many pages views have taken place, while another one is tracking how many people have filled up the signup form on the website
Basically these tags provide vital information about the user behaviour. Using tags improves the accuracy of analytics system, which helps in getting top-quality reports with accurate and up to date data.
What is Google Tag Manager?
Google Tag Manager is a free tag management platform by google that help us to manage multiple marketing tracking tags/ codes without the need of any developer to write code to manage tracking tags that we need to deploy in the website. If you use tag manager then there is no need to write code for each tag . We can simply embed the Google Tag Manager code into each page of the website.
Why do you need Google Tag Manager? How does it help?
Adding different tracking codes to the website is a difficult process which takes a lot of time . Google Tag Manager simplifies the tag management process by providing a single tracking code which replaces
all the existing individual tracking codes tracking different information in the website .We have to put the single tracking code provided by GTM in the head section of the HTML code which tracks all the data from the earlier tags .Google Tag Manager codes different tags for us which simplifies the process and eliminates all human errors.
Google Tag Manager helps us to manage following codes in the website.
- Google Analytics Code
- Heatmap Tracking Code
- Google Adwords Code
- Facebook Pixel Code( How To Setup Pixel Code)
- Adwords Re-marketing Code(How To Setup Re-marketing Code)
Contents Of Tag Manager
a. Container
It’s like a basket which contains all the tags in one place
b. Tags
They include snippets of java code .These tell what it should do.
c. Triggers
Trigger is the method which tells a particular tag when to work .
d. Variables
They contain additional information the Tag Manager may need for the tags and triggers to work.
Advantages of Google Tag Manager
- We can manage various codes on our own , there is no need of website developer.
- Quick Deployment of the tracking codes.
- All Tags in one place, so tag management becomes easy
- Changes in the existing tags can be made easily
- It also helps to add new tags quickly and manage them .
- It provides to option to preview and test tags before we actually implement them.
- As we eliminate different tracking tags the speed of the website increases and the load time of the website becomes fast. If we don’t use tag manager then we have to maintain so many different tags .
But while using the tool one should have some knowledge about how google analytics work, how to setup tags and variables ,what is Facebook pixel code etc. Without having basic knowledge about these things one cannot use google tag manager.
Steps To Setup Google Tag Manager
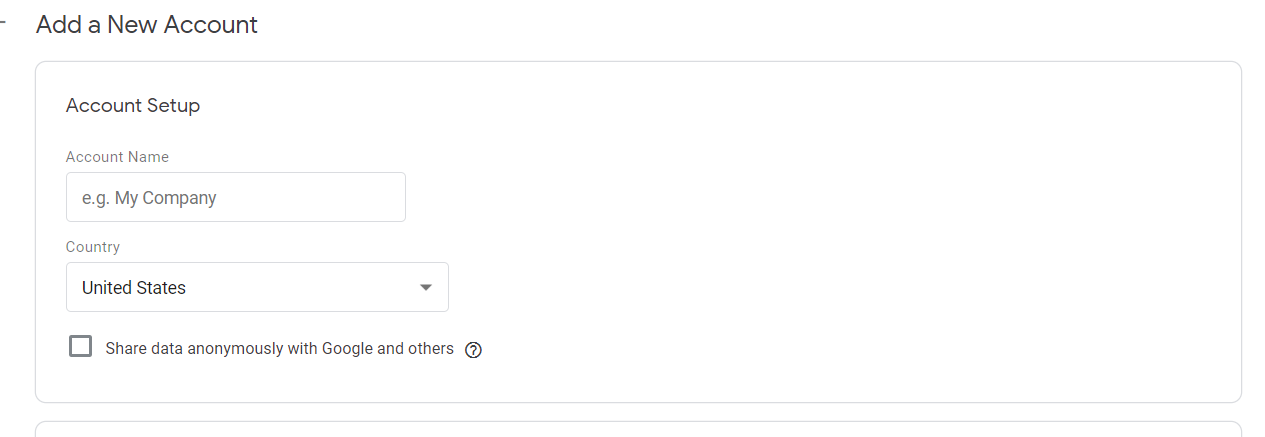
1. Create an account on tagmanager.google.com.
Create account using your existing gmail account . After you login through your gmail account then follow these steps
As you can see in the snippet it will say that add new account .Enter account name (For eg Your Company Name)
Select country in which the company website is based .
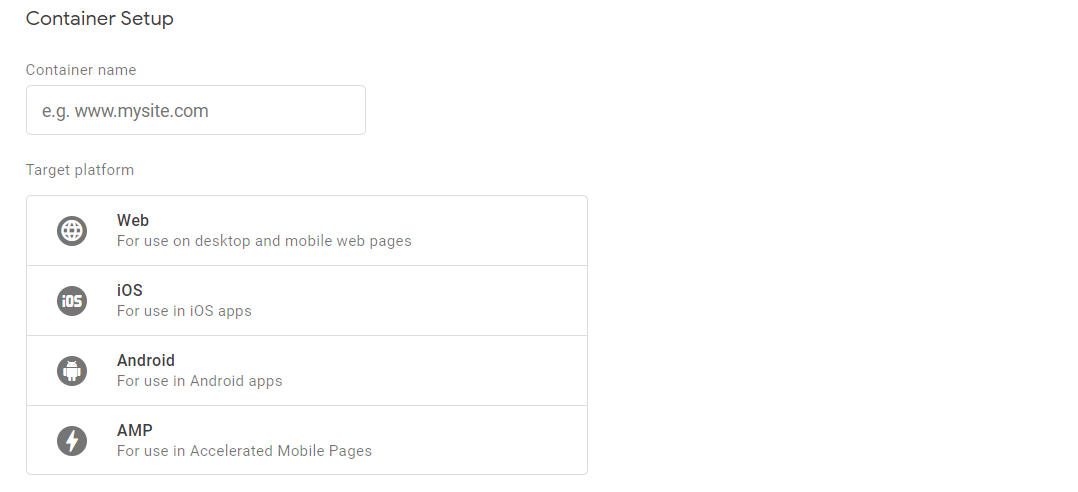
After this step the next step is to setup a container which will contain the different tracking codes of the website in a single place .
2. Setup container
As you see in the following snippet we will now setup the container
Enter the container name
Select the Target platform
Here Target Platform means where you are going to use the container
Then select the options as per your preference
After completing above steps you see the following dashboard.
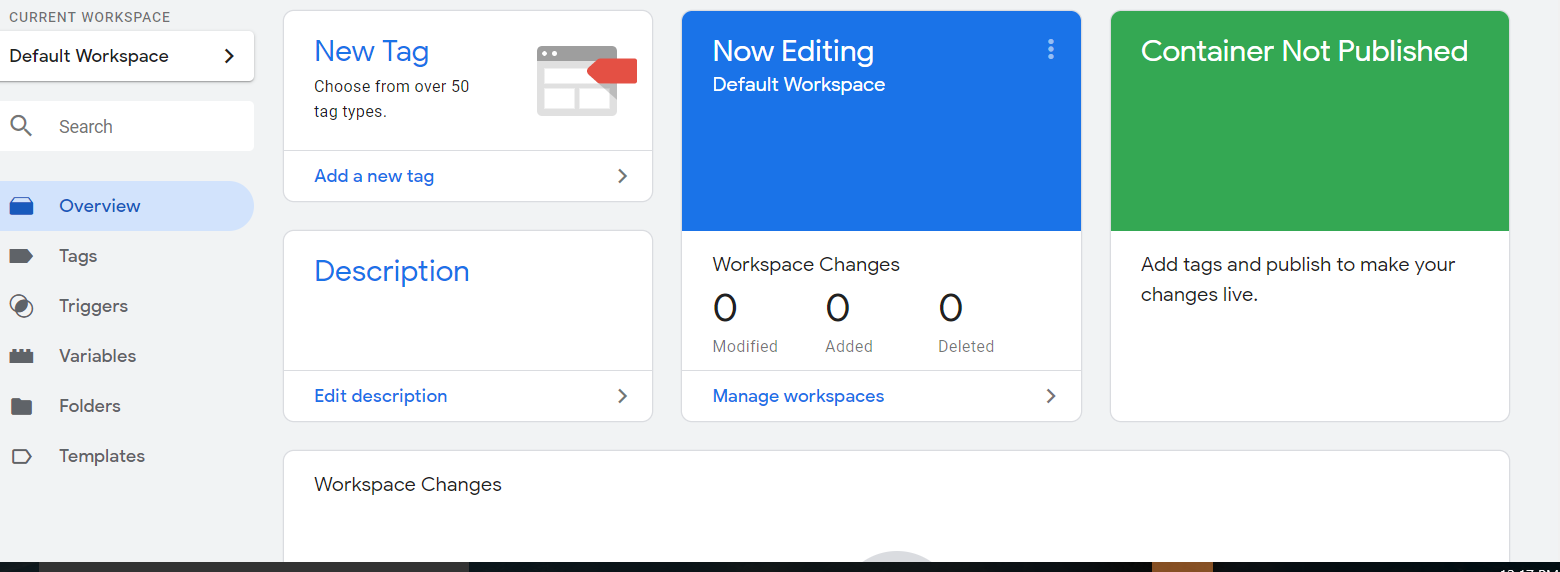
Tags Tab

Click on new
When you click on new you will see the following window
Enter the name of the tag and then click on tag configuration
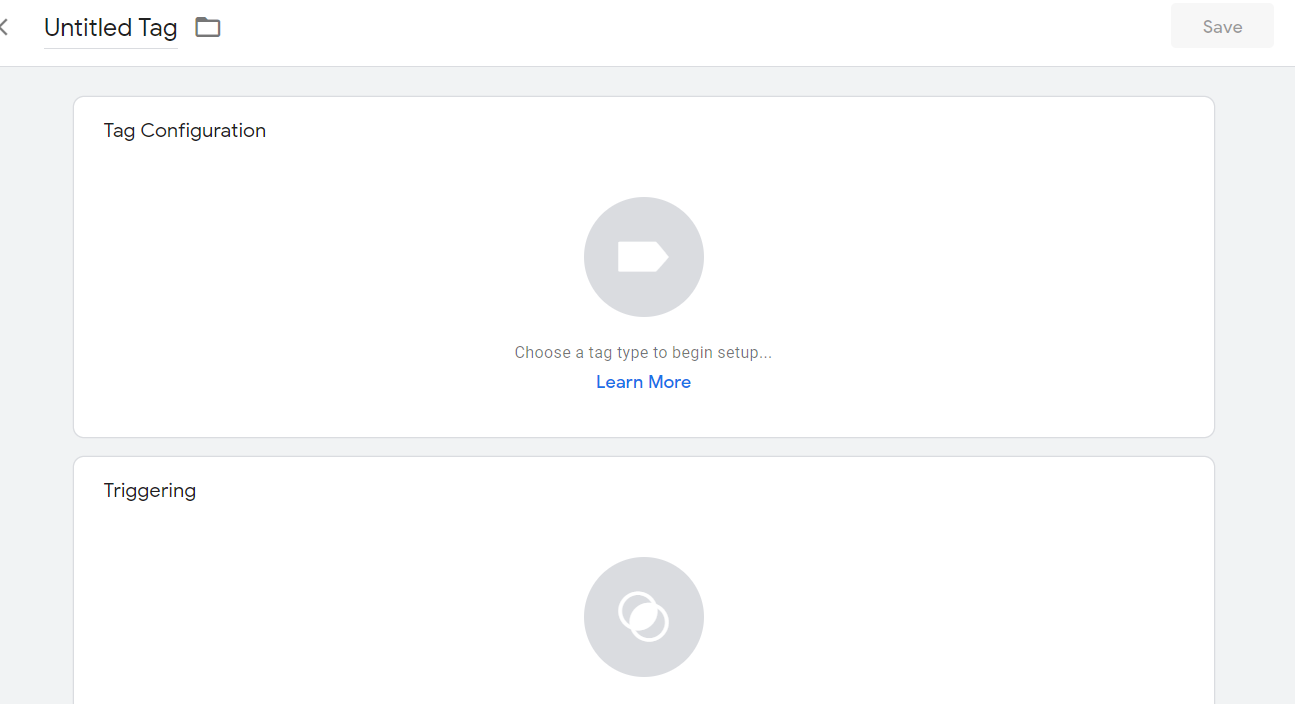
Next step is to select the type of the tag.
When you click on tag configuration you will see many tags which you can add

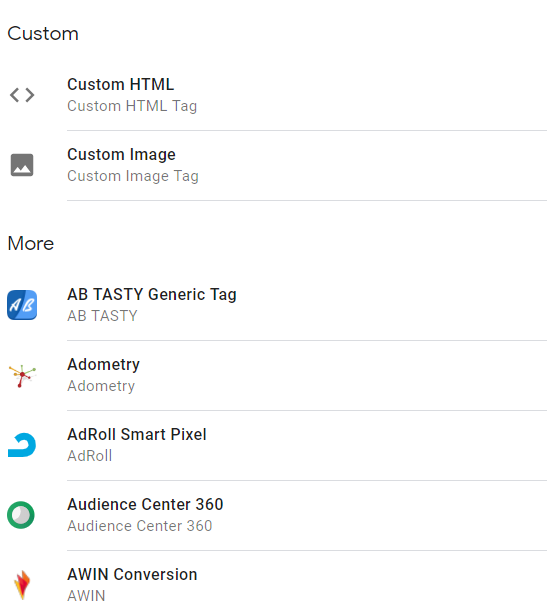
Select the tag you want to add .
After selecting on tag ,the next step to select the trigger for the tag
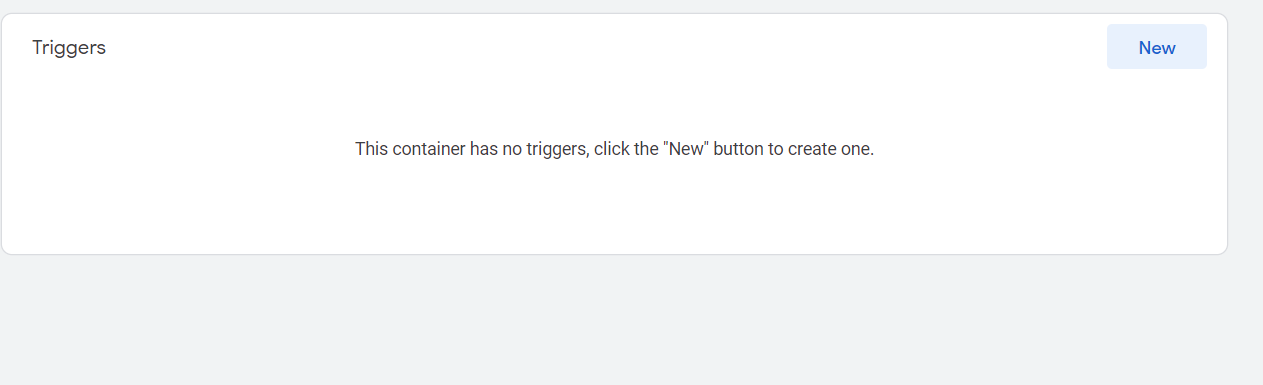
So click on trigger tab
When you click on trigger you will see following window

Click on new to assign the trigger to the selected tag
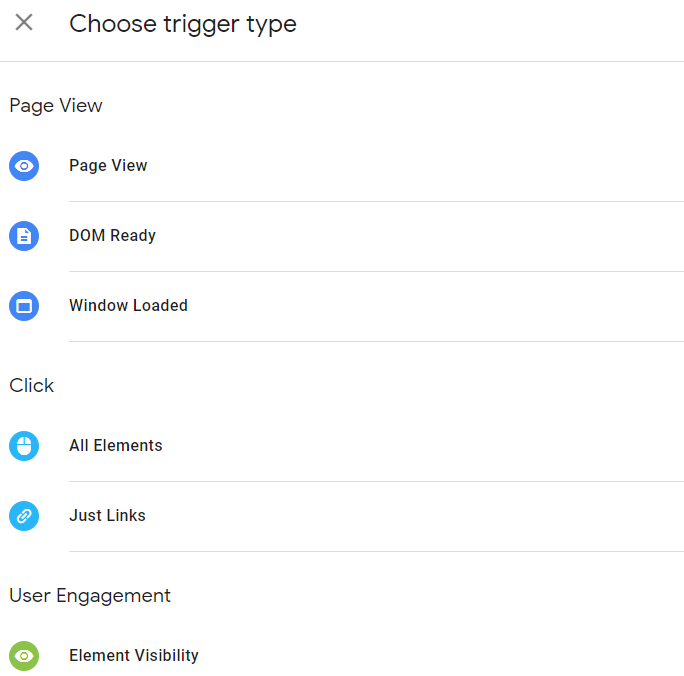
Now give a name to the trigger and then click on trigger configuration
Then chose the trigger type
3. After setting up the triggers now it’s time to setup variables
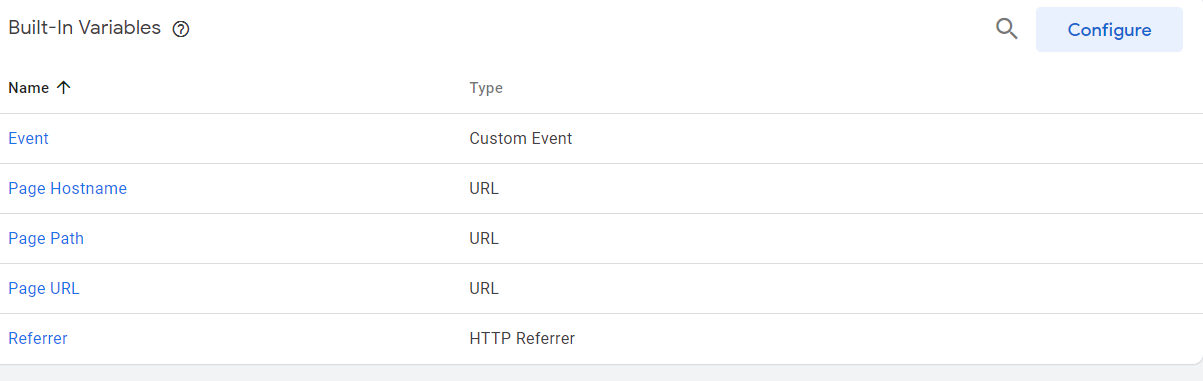
So now click on the variables
You will see two two types of variables
Built in Variables
Select the built-In variables you require.
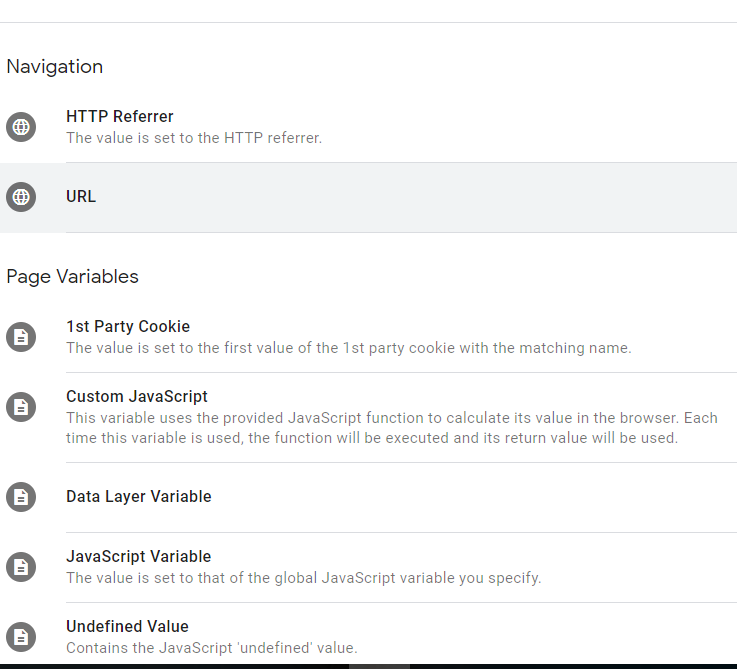
User-Defined Variable are as follows
Now setup the user defined variables
Assign a name to the variable and select the type you need from the list below
Click save
You are done with variable setting
You are done with setup .
So as you see it is easy to setup google tag manager if you follow all the steps listed above .
This is how to setup and use google tag manager .
Subscribe to Proposal Software blog and know about how to write winning proposals, learn about email marketing mistakes, email marketing best practices, proposal software features, online proposal software benefits.


0 Comments